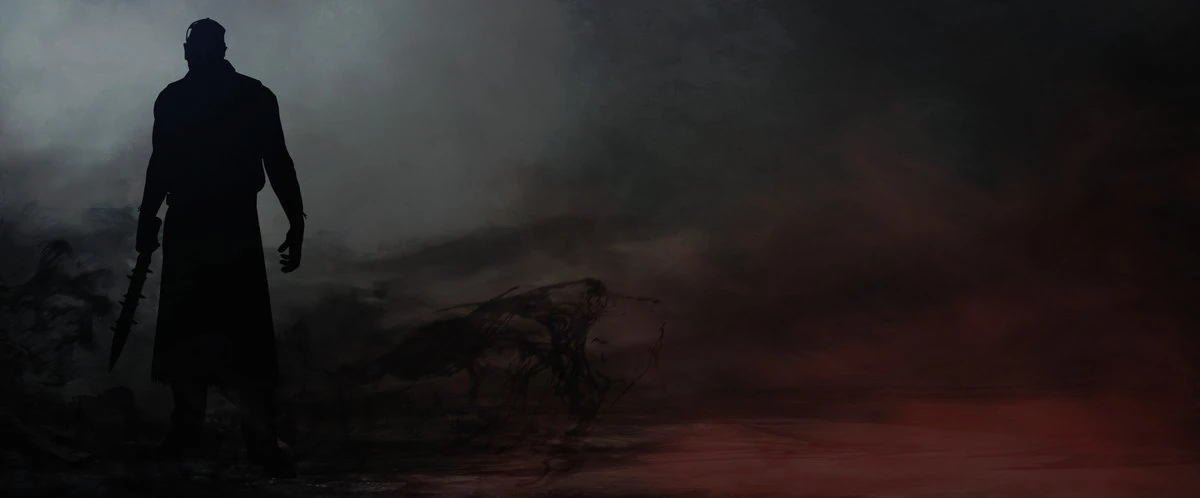
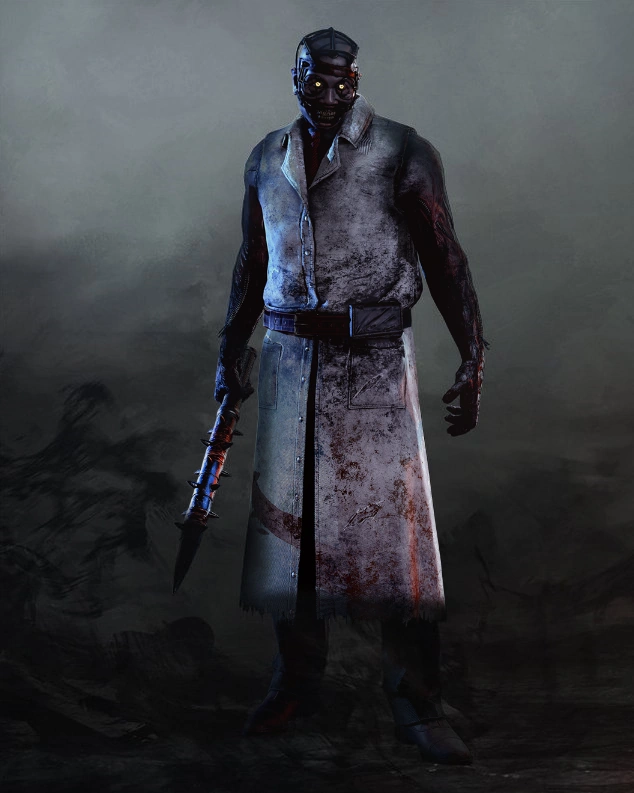
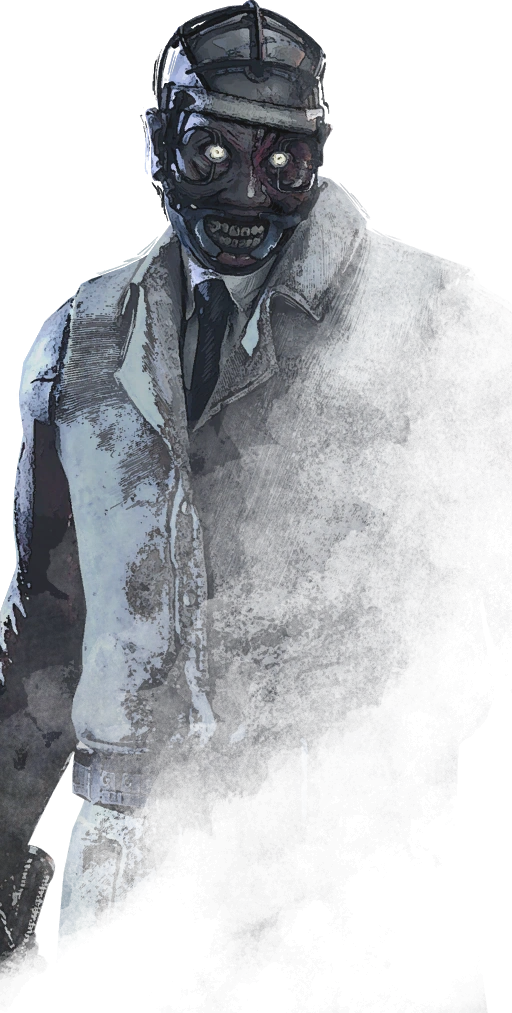
| I have difficulty keeping my sanity. Each day, this altering world provides me with new trials. A man wearing the robes of a doctor crossed my path. From afar, I witness him walking around, searching.. But he was not...normal. Eyes and mouth pried open, in a painful and disturbing way. Where do these fiends stem from? I do not trust him, he looks like he wants to bring pain, not healing? I will stay away, it is the wisest thing to do.
|
||
| ~ Unknown (Potentially Benedict Baker) |
Template:InfoKiller Herman Carter or "The Doctor" is one of 4 Template:IconLink currently featured in Template:IconLink.
He was introduced as the Killer of CHAPTER IV: Spark of Madness, a Chapter DLC released on 11 May 2017.
Overview
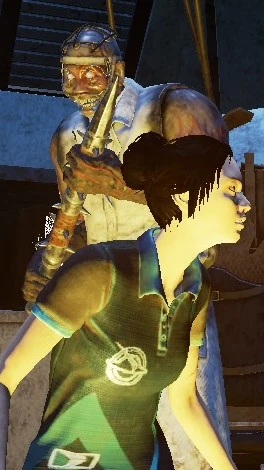
Herman Carter is a madness-inducing Killer, able to use his Power to create a Static Field, incapacitating Survivors and eventually causing them to hallucinate and scream in terror, revealing their position.
His personal Perks, Template:IconLink, Template:IconLink & Template:IconLink, encourage chases, impact Survivors' ability to repair effectively and make him harder to detect when not in a Chase.
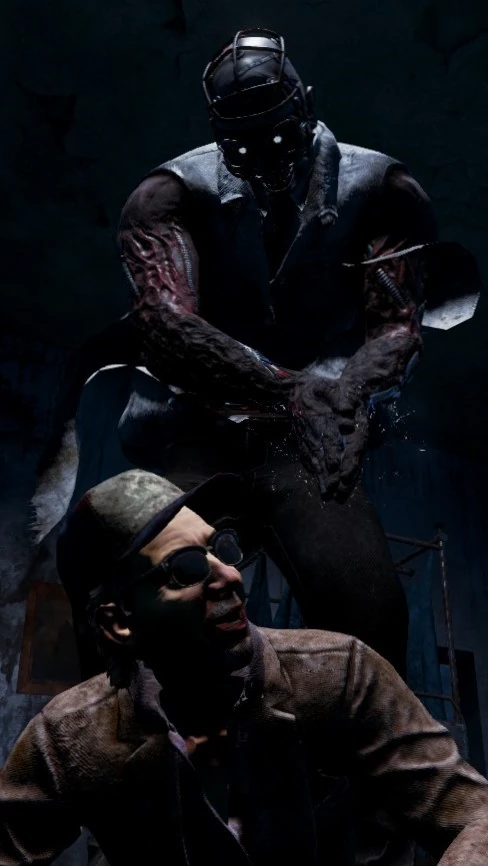
His Perks are about hindering and creating problems for the Survivors. The sheer stature of The Doctor infuses fear and terror in those around him.
Difficulty rating: Hard
(based on the amount of time and effort that is required to properly learn to play him and use his Power effectively)
Background
From an early age, Herman Carter understood the human psyche. To analyse and de-construct something as powerful as the brain intrigued him. He was an apt pupil and gained the attention of his teachers. He excelled in high-school and was published in "Partisan" - a psychology gazette. Within a year, Carter was fast-tracked into Yale's advanced neuroscience programme, really a front for the CIA. Brainpower is a must if you're about to conquer the world and demolish foes across the pond. The CIA understood this, so interrogation and intelligence became their number one priority. All they needed were brilliant people - like Carter.
Carter and other top-tier recruits were transferred off-campus and into a secret black site facility in Illinois known as the Léry's Memorial Institute. A protégé craves a mentor, and that's where Mr Stamper stepped in, who taught Carter that information is everything and knowledge is power. He was given all instruments needed, a guiding hand, and more or less everything he asked for. He never realised that sunlight had started to become so scarce, that he too was kept in the dark. Because knowledge doesn't only give you power, it also transforms you into a threat.
To extract information was his mission. Mr Stamper encouraged Carter to go further and not to consider this a normal medical facility - no eyes were watching them, there were no rules to abide. The agency just pointed Carter in the right direction, then he started to take a few steps back as he saw how Carter could walk on his own. Docile test subjects were exchanged for real, live spies. People that played a role in the troubles outside the facility. Carter shouldered this new role - Project Awakening took form, and on paper Carter described it as "experimental interrogation". It was approved and over a few months, nobody knocked on his door. Screams and moans filled the corridor outside his lab, but wars skew people and what they accept - as long as the enemy is kept at bay. The fluorescent lights flickered more and more often. Electro-convulsive Treatment became a standard dish on the menu. Prisoners held at the facility begged the guards to take them to any other lab but Carter's. Rumours were disregarded in the beginning.
Over the years, Carter became known as The Doctor and no one ever questioned if he had even held a medical certificate or even what happened to the prisoners after they had given up their information. It was only after the Léry's Memorial Institute went silent for a week that they finally uncovered the true horror of what had happened there.
Carter's experimental information extraction had turned to horrific and bizarre torture. Patients and prisoners were found dead or in vegetative states with all types of head trauma. In his office, they found the most terrible discovery of all. Mr Stamper himself, his head peeled open and an array of electrodes and sensors inserted into his still working, but annihilated brain. There was no sign of Herman "The Doctor" Carter, but his research papers suggested that he had been using the prisoners as part of awful ECT experiments as he searched for the panacea of mind control.
The government didn't want to know. The black site was condemned and all knowledge of the Léry's Memorial Institute redacted forever.
Doctor's Perks
These are Perks which start off only appearing in The Doctor's Template:IconLink. After achieving Level 30, Teachable versions of these Perks can be found:
- Overwhelming Presence - Level 30
- Monitor & Abuse - Level 35
- Overcharge - Level 40
Once obtained, other Killers will be able to find The Doctor's Perks in their respective Bloodwebs from that point onwards.
| Icon | Name | Description |
|---|---|---|
 |
Overwhelming Presence | Template:Perk desc |
 |
Monitor & Abuse | Template:Perk desc |
 |
Overcharge | Template:Perk desc |
Load-out
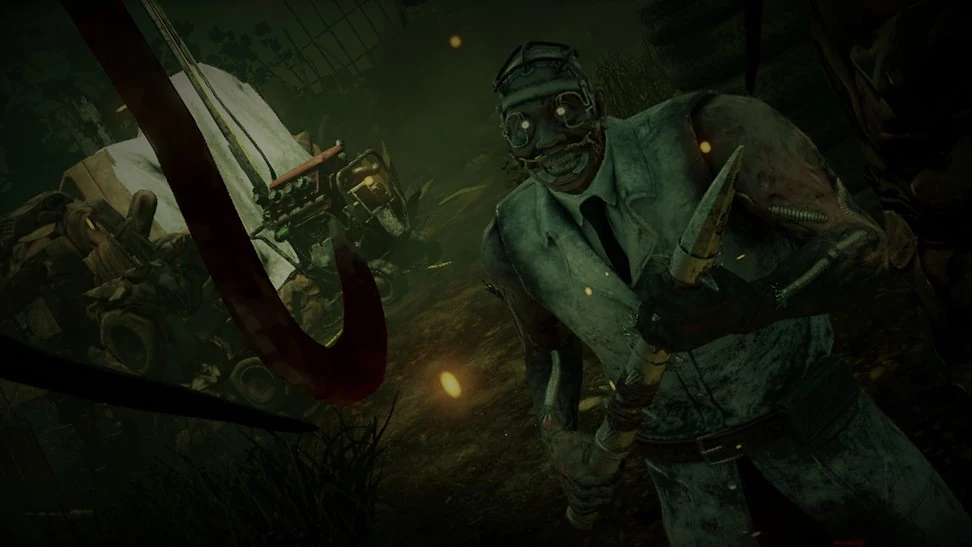
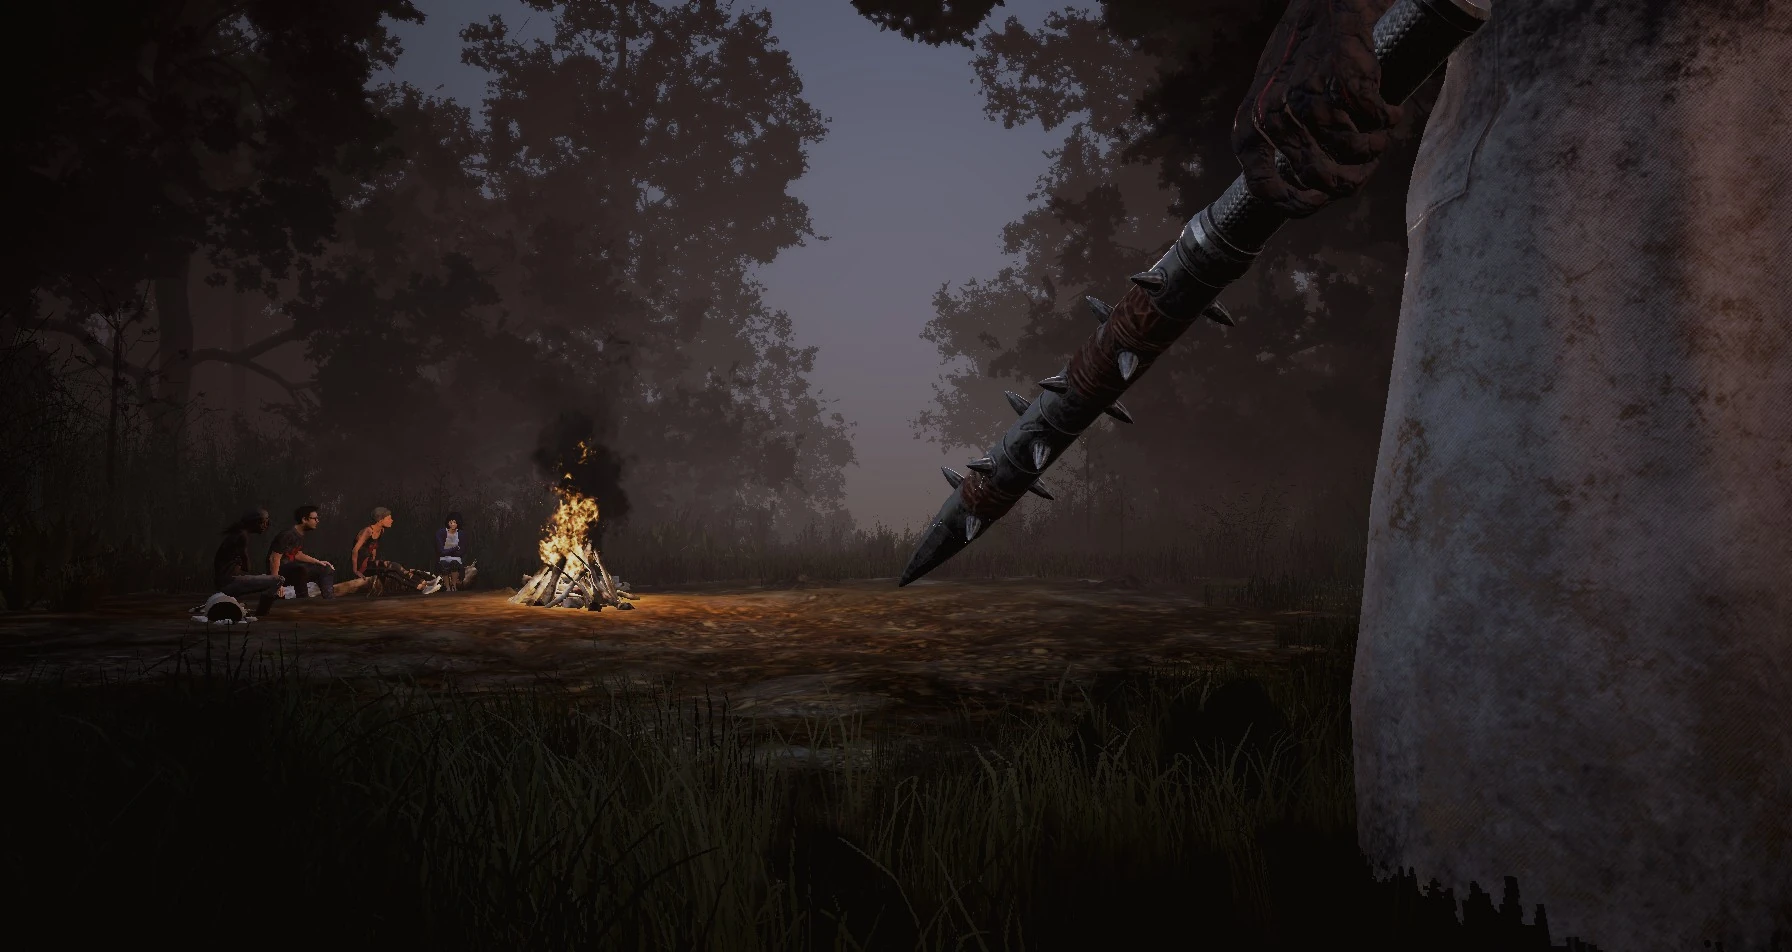
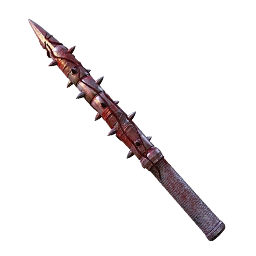
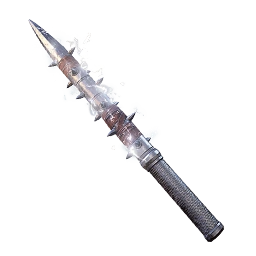
Weapon: The Stick
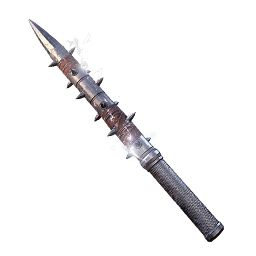
The Stick is the primary weapon for The Doctor. An instrument of punishment when all other treatments failed.
- In Punishment mode, he holds his weapon with both hands.
- He puts his weapon away on his belt when he's about to perform his Template:IconLink.
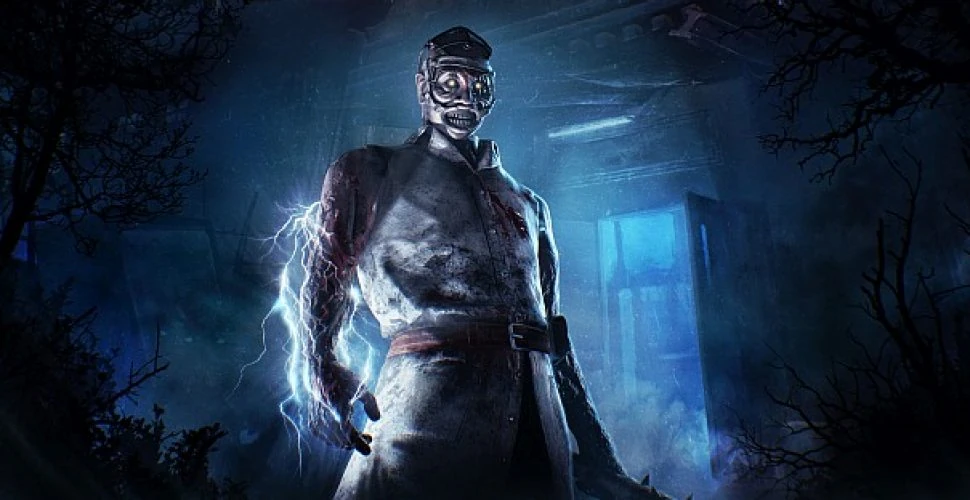
Power: Carter's Spark
Is it a gift, or a curse? The Entity has ignited a corrupted and inexhaustible spark in The Doctor’s heart which allows him to generate electro-convulsive power at will. His insidious treatment corrupts the minds of those it touches. Victims shocked by the corrupt spark begin to lose their grip on reality and, with repeated exposure, inevitably succumb to madness.
- Grants the ability to switch between Treatment and Punishment modes.
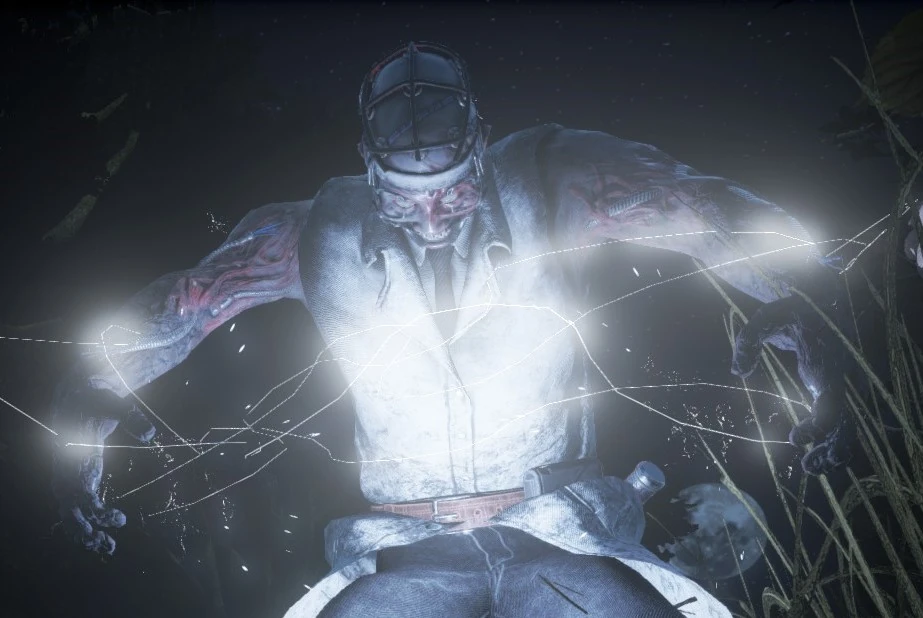
- While in Treatment mode, you move slower and generate a Static Field based on your Terror Radius which slowly increases the Survivors' Madness based on their proximity to the The Doctor. In exchange for your normal attack, grants the ability to charge and release a Shock Therapy attack that greatly increases Survivors' Madness, and prevents them from performing any interactions for 2.5 seconds. Treatment mode still allows The Doctor to do normal interactions such as vaulting windows, damaging generators, breaking pallets and grabbing Survivors.
- Survivors with prolonged exposure to the Static Field, or when being hit repeatedly with the Shock Therapy attack, will enter Madness I, II, III and scream, revealing their position to The Doctor. Madness II and III cause Survivors to experience Doctor Hallucinations which can be seen by The Doctor as an allied aura if the Survivor is in Madness III. The Doctor can also see the auras in Madness II if he has equipped one of the following Add-ons:
- Template:IconLink
- Template:IconLink
- Template:IconLink
- Template:IconLink
- Template:IconLink have a 33%, 66% or 100% chance of appearing in a random location while in Madness I, II or III, respectively.
- In Madness III Survivors will regularly scream, revealing their position to The Doctor and they cannot do certain interactions until they Snap Out of It. Some notable exceptions exist, including dropping pallets and escaping using the Template:IconLink
- These are the interactions they cannot perform while experiencing Madness III:
- Healing themselves and other Survivors
- Sabotage Hooks
- Repair Generators
- Cleanse Totems
- Use any of their Items
- More Afflictions are available with Template:IconLink.
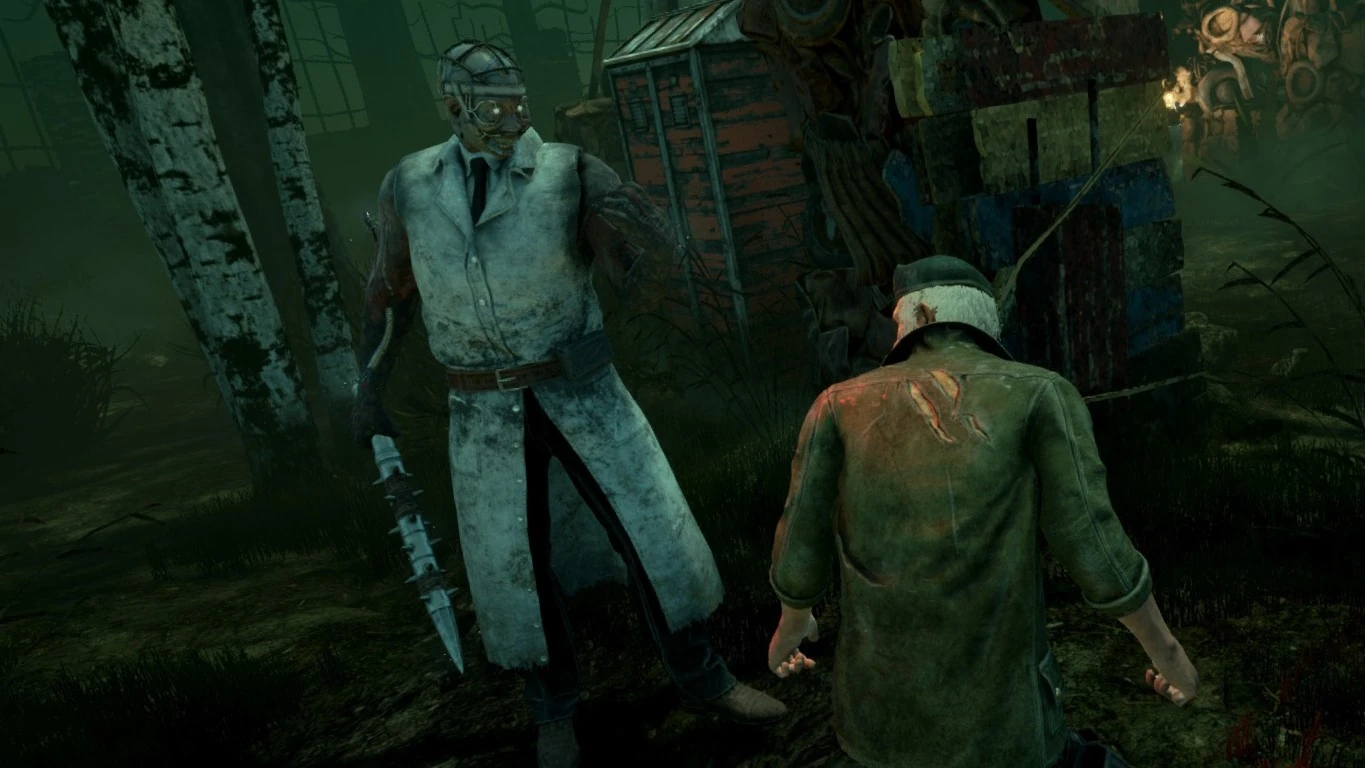
- While in Punishment mode, The Doctor moves at his normal speed and can swing his weapon to injure Survivors.
- While in Treatment mode, Survivors inside Template:IconLink are not affected by the Static Field.
Add-ons for Carter's Spark
Template:Add-ons: Carter's Spark (Doctor)
Achievements
- Main article: Achievements
There are currently 3 Achievements related to The Doctor.
| Icon | Name | Description |
|---|---|---|

|
Adept Doctor | Achieve a merciless victory with The Doctor using only his Unique Perks. |

|
Mad House | Bring the 4 survivors to Madness Tier III at least once in the same match. |

|
Shocking Treatment | Hit Survivors 500 times with The Doctor's Shock Therapy attack. |
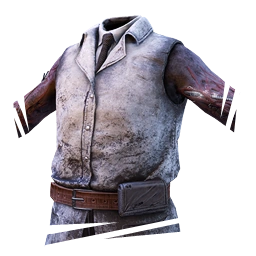
Customisation
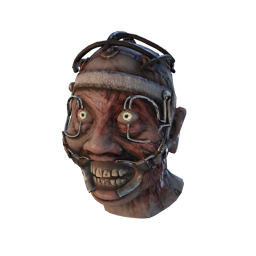
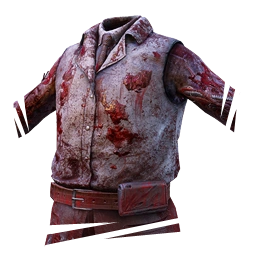
Players may customise their Character by choosing one outfit style from each category. Blood-stained attire is obtained after The Doctor reaches Level 50 and prestiges.
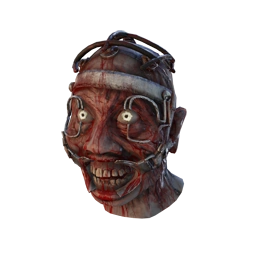
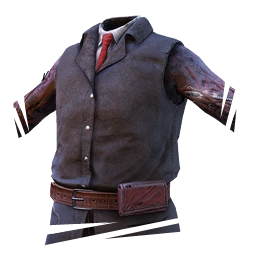
The Doctor's attire includes:
| Head | Body | Weapon |
|---|---|---|


Prestige
- Prestige I - The Bloody Stick (Weapon)
- Prestige II - Bloody Doctor's Coat (Body)
- Prestige III - Bloody Herman Carter (Head)
DLC
- Main article: Downloadable Content
The Doctor is currently part of 1 DLC package:
Available DLC
Trivia
- File logs reveal that he was to be called "Mu Yi" at one point during development.
- Other file logs and WIP names of his Add-ons also reveal, that The Doctor was generally supposed to be more Chinese-themed at an early point in development:
- Some of the early Add-on names are:
- Jade Charm instead of Scrapped Tape
- Nanmu Catapult instead of Maple Knight
- Tiger Fang Charm instead of Interview Tape
- Some of the early Add-on names are:
- The Doctor introduced Template:IconLink a new game mechanic unique to him.
- The Doctor is the first Killer to have two different Attack Modes.
- The Doctor's facial equipment, that forces his eyes and mouth to remain open, is a reference to the 1971 Movie A Clockwork Orange where the protagonist undergoes brutal psychotherapy treatment in an attempt to cure his mania and bloodlust.
- The Doctor's background story may be a reference to MK ULTRA, a CIA research project that officially ran from 1951 to 1973 and experimented with unethical methods of interrogation and mind control.
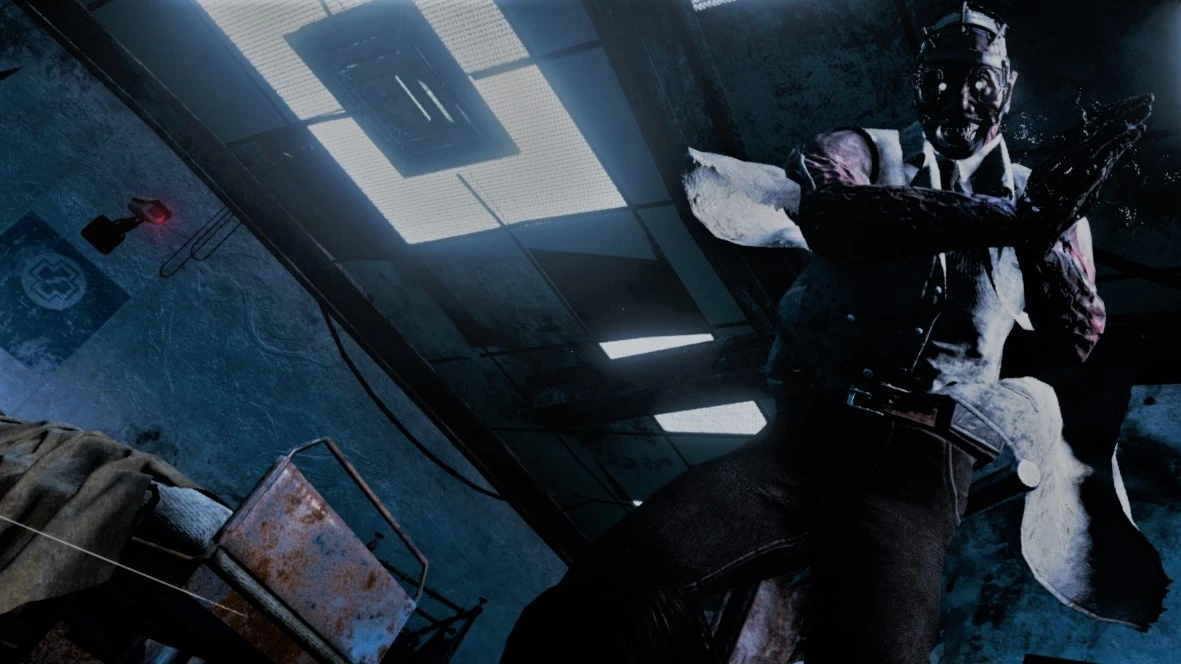
- The Doctor's Memento Mori animation was the first where the Survivors see a part of the animation from the Killer's perspective.
- During this animation, he zaps his victim's head using sparks from his hands until they die.
- When a Survivor has received Madness, it is possible for them to hear Template:IconLink whispers, that are usually only heard by Killers using the Perk Template:IconLink
- The Doctor is one of 0 Killers with glowing eyes, the others being the Template:IconLink and the Template:IconLink.
- Due to technical limitations, the Doctor Illusions, always wear the default customisation option of The Doctor.
- The Doctor laughs menacingly whenever he hits a Survivor with his Shock Therapy attack.
- This laugh is also heard, albeit just by the Survivor, when they get fooled by an Illusionary Pallet.
Tips
- The Doctor's Static Field in Treatment mode is affected by things that adjust your Terror Radius. Increasing your Terror Radius with Perks (Template:IconLink or Template:IconLink) and Add-ons can help to cause more Survivors to scream more often as you move distances around the map.
- The Doctor's madness application is prevented when hiding inside lockers. Especially useful in tight spaces, you will be able to avoid his shocks and accumulating Madness.
- When you are on the very edge of the Doctor's Terror Radius, relocate. This way you can keep your Madness levels low at close and long range.
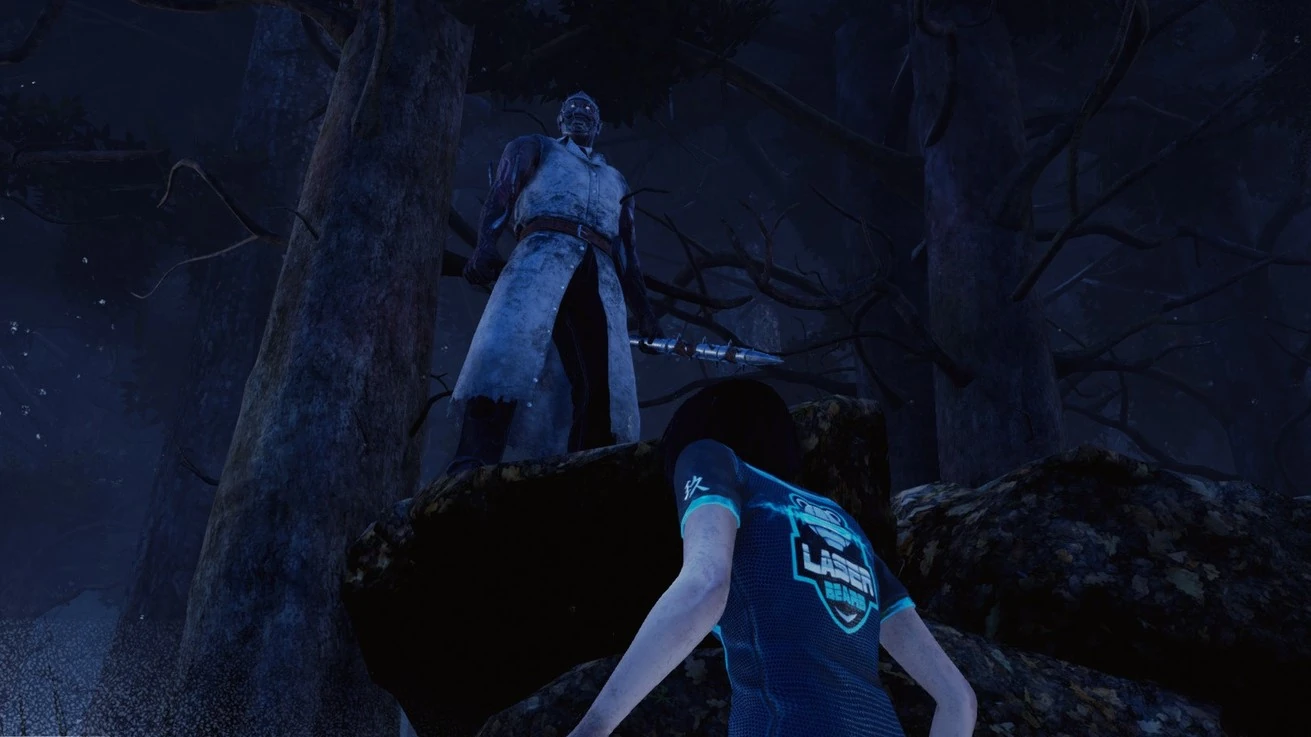
- One of the hallucinations caused by Madness is a still-standing figure of the Doctor in Punishment mode, appearing near Survivors and staring at them. The Doctor is able to see these figures as if they were a real player, telling him there is a Survivor in the vicinity. Furthermore, the Doctor can use the direction the hallucination is facing to guide him towards his victim.
- The Doctor moves as fast as The Template:IconLink and The Template:IconLink (4.4m/s) when in Treatment mode, but moves faster (4.6m/s) when in Punishment mode. Remember to switch over shortly after discovering a survivor through their screams, so that you can close the distance more quickly.
- When using an "Order" Add-on, spawning an Illusionary Pallet or having one dismissed by a Survivor will notify you with flickering static around the edges of your screen, the same experienced by a survivor when they become afflicted by something. This can be used to gauge a Survivor's location in some situations, but it's tricky and unreliable.
- It is also worth noting that Illusionary Pallets will not appear on the very location of a Survivor, including a Survivor's corpse (such as those created by Template:IconLink)
Gallery
For more go to the Doctor's Gallery